Gather Your Supplies
To create beautiful artificial nails, it is necessary to gather a range of vital supplies that guarantee a professional appearance and longevity. The foundation of your artificial nails consists of nail tips or forms. Nail tips are pre-shaped extensions that can be adhered to your natural nails, while forms allow for sculpting the nail directly on your fingers. The choice between the two depends on your skill level and the desired nail shape. Additionally, nail glue is essential for affixing the tips or forms to your natural nails. A robust, high-quality nail glue will ensure that your artificial nails adhere effectively and remain secure for an extended duration.
It is crucial to use glue specifically formulated for nails to prevent any harm to your natural nails. After applying the tips, a nail file becomes indispensable. This tool is utilized to shape and smooth the edges of your artificial nails, enabling you to achieve your preferred nail shape, whether square, oval, or stiletto. A buffing block is also significant, as it aids in smoothing the nail surface, preparing it for polish application. Buffing not only readies the nail surface but also improves the overall appearance by creating a seamless transition between the artificial and natural nails. In terms of color, nail polish or gel polish allows for creative expression.
Gel polish provides a more durable finish and necessitates curing under a UV or LED lamp, while traditional nail polish is straightforward to apply and remove. Regardless of your selection, ensure you have a diverse range of colors for various occasions. To complete your nail art, a top coat is essential. This final layer adds luster and protects your nails from chipping, ensuring the longevity of your exquisite work. Lastly, do not overlook cuticle oil. This nourishing oil maintains the health and hydration of your cuticles, preventing dryness and promoting overall nail wellness. With these necessary supplies, you will be well-prepared to craft stunning artificial nails that enhance your appearance and showcase your personal style.
Prepare Your Natural Nails
Prior to engaging in the enjoyable task of crafting beautiful artificial nails, it is essential to adequately prepare your natural nails. This critical initial step guarantees that the artificial nails adhere properly and appear at their finest. The first and foremost aspect of this preparation is to clean your natural nails thoroughly. Start by washing your hands meticulously with soap and water to eliminate any dirt, oils, or residues that could hinder the adhesion of the artificial nails. Additionally, utilizing a mild nail cleanser or alcohol wipes can help ensure a pristine surface.
This procedure is crucial, as any contaminants may result in the artificial nails lifting or chipping over time. After your nails are clean, the subsequent step is to gently push back your cuticles. Cuticles are the delicate layers of skin at the base of your nails that safeguard the nail bed from bacteria and infections. However, for the application of artificial nails, it is vital to have a clear and unobstructed area at the nail base to facilitate optimal adhesion. Employ a cuticle pusher, which may be made of wood or metal, to carefully push back the cuticles. Exercise caution during this process; it is important to be gentle to prevent any discomfort or injury. If your cuticles are notably overgrown, you may consider trimming them slightly with cuticle nippers, but only if you feel confident in doing so.
Following the cuticle management, the next step is to eliminate any old polish. If there is any remaining nail polish or gel from prior applications, it is imperative to remove it entirely. Utilize a high-quality nail polish remover, preferably one containing acetone for more effective removal. Soak a cotton ball or pad in the remover and press it onto the nail, holding it in place for a few seconds to allow the remover to penetrate the polish. Then, gently wipe the polish away from the nail surface. This step not only prepares the nails for the application of artificial nails but also ensures that no remnants remain that could interfere with the bonding process. Lastly, conduct a quick inspection of your nails. Confirm that they are completely dry after cleaning and that the surface is ready for the next steps.
Choose the Right Nail Tips
Choosing the appropriate nail tips is a vital aspect of crafting beautiful artificial nails. The correct nail tips not only improve the visual appeal of your manicure but also enhance the comfort and longevity of the overall appearance. Initially, it is crucial to select nail tips that correspond to the size and shape of your natural nails. This involves carefully evaluating the dimensions of your nails and identifying tips that align with their natural form. Nail tips are available in a variety of shapes and sizes, such as square, oval, stiletto, and almond.
When making your selection, take into account the shape of your natural nails. For example, if your nails are naturally round, oval or almond-shaped tips may provide a more cohesive look. In contrast, if your natural nails are more square, choosing square tips will accentuate their inherent shape. The objective is to achieve a smooth transition between your natural nails and the tips, which will not only enhance the appearance but also improve comfort. To determine the appropriate size, most nail tip packages offer a range of sizes, typically numbered from 0 to 10.
It is recommended to try on several sizes to find one that fits securely against your natural nail without extending beyond the sides or cuticles. A poorly fitting tip can cause discomfort and may not adhere properly, leading to lifting or even breakage. If in doubt, it is preferable to select tips that are slightly larger, as they can be filed down to better match your natural nail size. Furthermore, consider the material of the nail tips. Most tips are constructed from either plastic or acrylic. Plastic tips are lightweight and user-friendly, making them ideal for novices. Conversely, acrylic tips provide greater durability and can be shaped and filed into various styles, although they may require more expertise for proper application. Additionally, consider the design of the tips; some come with pre-existing designs or patterns, while others are plain, allowing for customization with your nail art. Elevate Your Style: Step-by-Step Nail Design Techniques
Apply Nail Tips
The application of nail tips represents a crucial and exhilarating phase in the creation of beautiful artificial nails. After selecting the suitable tips and preparing your natural nails, you can proceed to the application stage. Ensuring proper application is vital for achieving an aesthetically pleasing look and for the longevity of the fake nails. To start, select your preferred nail tip and prepare it by cleaning the inner surface to eliminate any dust or debris, which will enhance the adhesion of the nail glue.
Next, open the nail glue and dispense a small amount into the well of the nail tip; a pea-sized quantity is typically adequate, as excessive glue may overflow during application, resulting in a messy finish. Position the nail tip at a slight angle against your natural nail, which is essential for achieving a better fit and a more natural look. Align the tip with the cuticle area, but refrain from placing it directly on the cuticle to minimize the risk of lifting and discomfort. Gradually lower the tip onto your natural nail, ensuring a snug fit without gaps between the tip and the nail bed.
Once the tip is positioned, apply gentle pressure for a few seconds to allow the glue to bond effectively, creating a robust connection. If the tip shifts, simply adjust its position and maintain pressure until it adheres securely. After all tips are applied, inspect each one to confirm they are firmly attached and free of air bubbles or lifting at the edges. If any tips are not properly adhered, reapply glue and press them again. Dedicating time to the careful application of nail tips will enhance the overall professionalism of the final result.
Trim and Shape the Nails
After successfully applying the nail tips, the subsequent step involves trimming and shaping the nails to achieve your desired appearance. This procedure is vital, as the length and shape of your nails can significantly affect your overall style and the polished look of your manicure. To commence, utilize a nail clipper to shorten the tips to your preferred length, ensuring you select a clipper with a straight edge for precise cuts. Begin by deciding how long you wish your nails to be; a practical guideline is to keep them long enough to display your design while remaining short enough for daily activities.
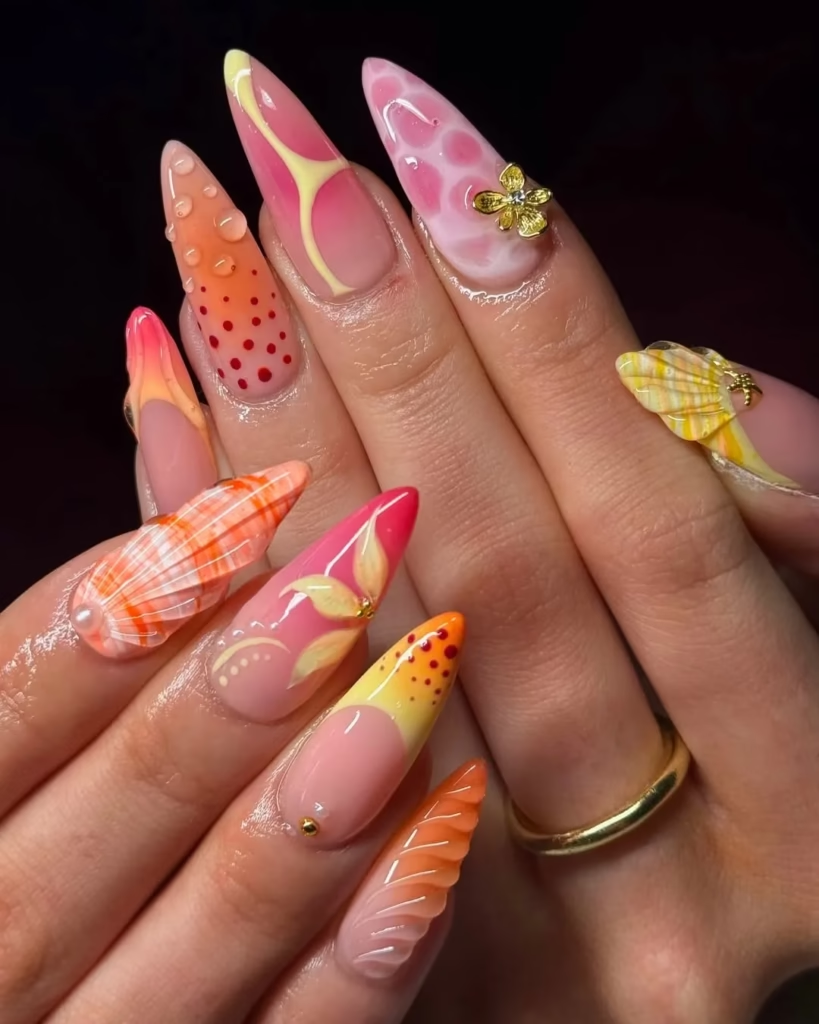
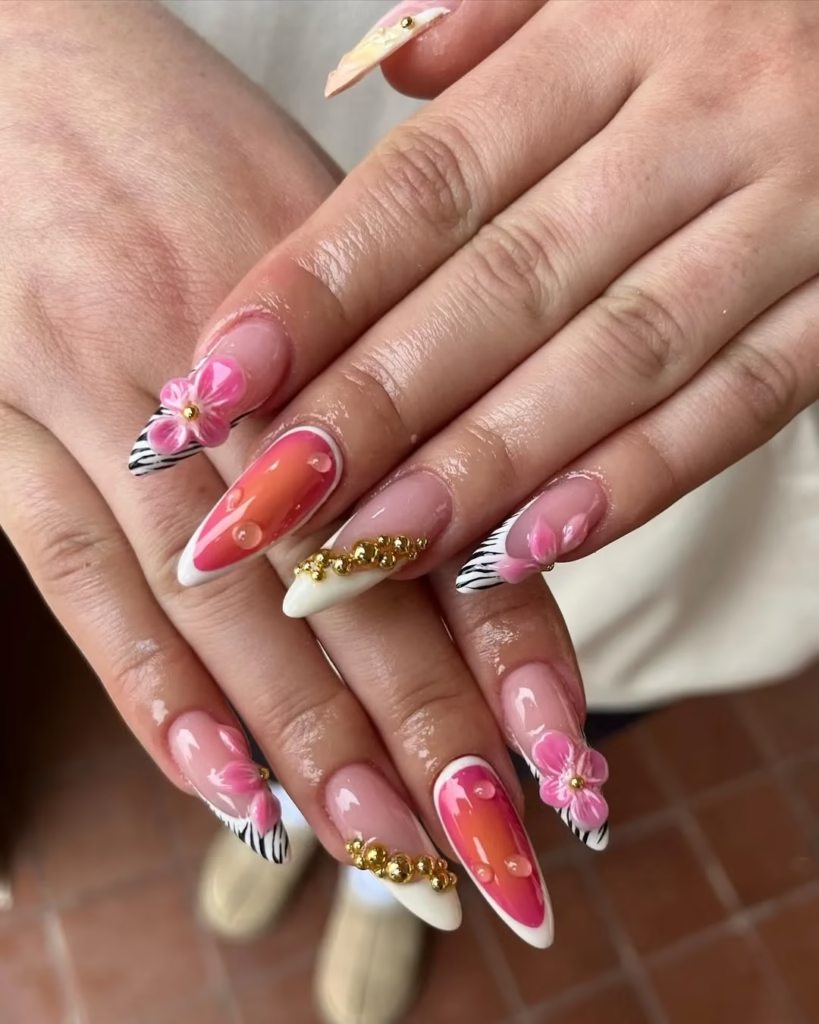
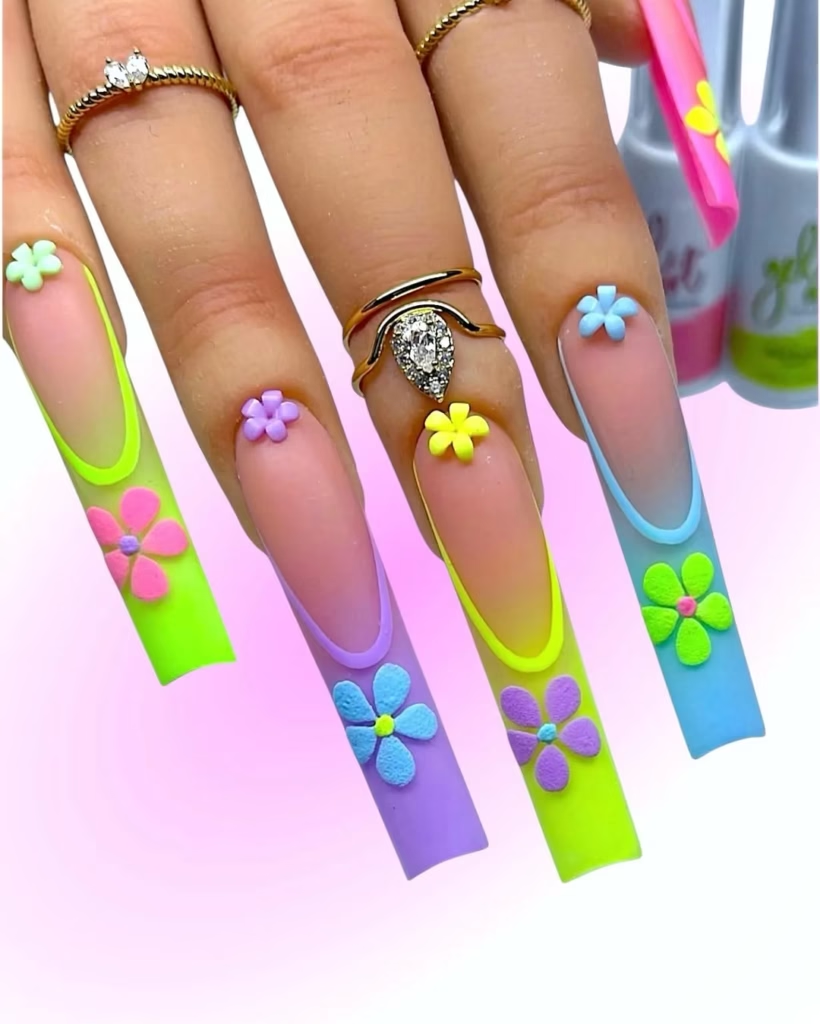
If you are inexperienced with applying artificial nails, you may want to start with a shorter length until you gain confidence in their maintenance. When trimming, be careful to cut straight across for square shapes or at a slight angle for oval or almond shapes. This initial trimming not only helps to establish the length but also prepares for the shaping process. Following the trimming, proceed to shape the edges of your nails with a nail file, an essential tool for smoothing rough edges and refining the overall shape. Depending on your preference, you can create various nail shapes such as square, round, oval, or stiletto. For a square shape, file the edges straight across, ensuring the corners are sharp and well-defined.
For an almond shape, file the sides toward the center to create a tapered point at the tip, while a round shape requires gentle filing of the edges to achieve a soft curve. When filing, always move the file in one direction to prevent splitting and damage to the tips. Additionally, take your time during this process; it is preferable to file gradually and check the shape frequently rather than over-filing and risking an undesired appearance. Once you are content with both the length and shape of your nails, take a moment to examine them for uniformity, ensuring that all nails are consistent in length.
Buff the Surface
Following the trimming and shaping of your artificial nails, the subsequent crucial step is to buff their surface. This procedure is vital for preparing the nails for polish application, ensuring that the end result is both aesthetically pleasing and durable. Buffing contributes to the creation of a smooth, uniform surface that enhances the adhesion of nail polish or gel, thereby decreasing the likelihood of chipping or peeling over time. To commence, assemble your buffing block or a fine-grit nail buffer. A buffing block generally features multiple sides, each intended for varying levels of abrasion, enabling you to attain the desired smoothness without harming the nail tips.
If utilizing a standard nail file, select one with a grit of 240 or finer to minimize the risk of scratching or forming deep grooves on the surface. When initiating the buffing process, it is essential to employ gentle, consistent strokes. Start with the coarser side of the buffing block, if available, and lightly glide it over the surface of each nail. Concentrate on buffing the tips and the area adjacent to the cuticle to ensure a uniform finish. Exercise caution to avoid excessive pressure; the objective is to create a subtle texture rather than to file away the material of the nail tips. Over-buffing can result in the thinning of the tips, potentially compromising their strength and durability. As you buff, you will observe the surface becoming smoother and more matte, indicating effective preparation for polish. Grow Beautiful Nails: Simple Secrets Revealed
This matte finish is essential as it offers improved grip for the polish, facilitating uniform adhesion without lifting. After buffing all the nails, take a moment to cleanse them with a lint-free cloth or a cotton pad moistened with alcohol. This step removes dust and debris, ensuring that no particles hinder the polish application. Once the surface is clean and dry, your nails are now ideally prepared for the next phase of your manicure. By dedicating time to buff the surface of your artificial nails, you are establishing a solid foundation for a flawless polish application.
Apply Base Coat
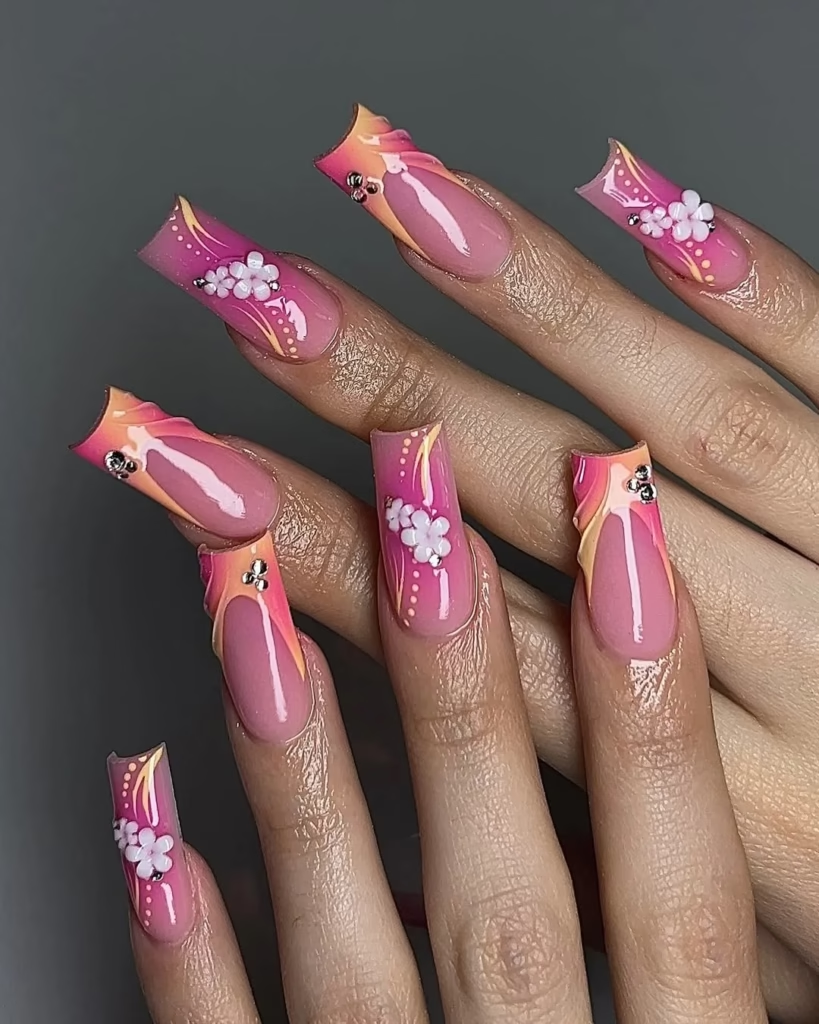
After achieving the perfect shape and buffing of your artificial nails, the subsequent essential phase in your manicure routine is the application of a base coat. This step is frequently neglected, yet it is crucial for safeguarding your nails and improving the adherence of your selected nail polish or gel. A high-quality base coat acts as a protective barrier between your nails and the colored polish, preventing potential discoloration and facilitating a smooth application. To begin, select a premium base coat that meets your requirements. Various formulations are available, including those that offer additional advantages such as strengthening, nourishing, or even quick-drying properties.
Choose one that aligns with your nail objectives, whether it is to enhance durability or simply to provide a protective layer. When you are prepared to apply the base coat, ensure that your nails are entirely dry and devoid of any dust or oils. Using a nail polish brush, dip it into the base coat and remove any excess on the rim of the bottle to prevent pooling. Start by applying a thin layer of the base coat to each nail, beginning at the base near the cuticle and moving towards the tip. It is essential to apply with a gentle touch; a thin, even layer is crucial for allowing the base coat to dry properly and ensuring it adheres well to the nail tips. Cover the entire nail surface, including the edges and tips, to seal the artificial nails and protect them from chipping or peeling.
Avoid applying an excessive amount of product, as a thick layer can result in bubbling and prolonged drying times. A single, smooth coat is adequate to create an effective barrier. After applying the base coat, allow it to dry completely before proceeding to the next step. The drying duration may vary based on the specific product used, but it typically takes just a few minutes. You can accelerate the process by utilizing a fan or a quick-dry spray specifically formulated for nail polish. The application of a base coat is not merely a preparatory measure; it significantly enhances the durability and aesthetic of your manicure.
Add Color
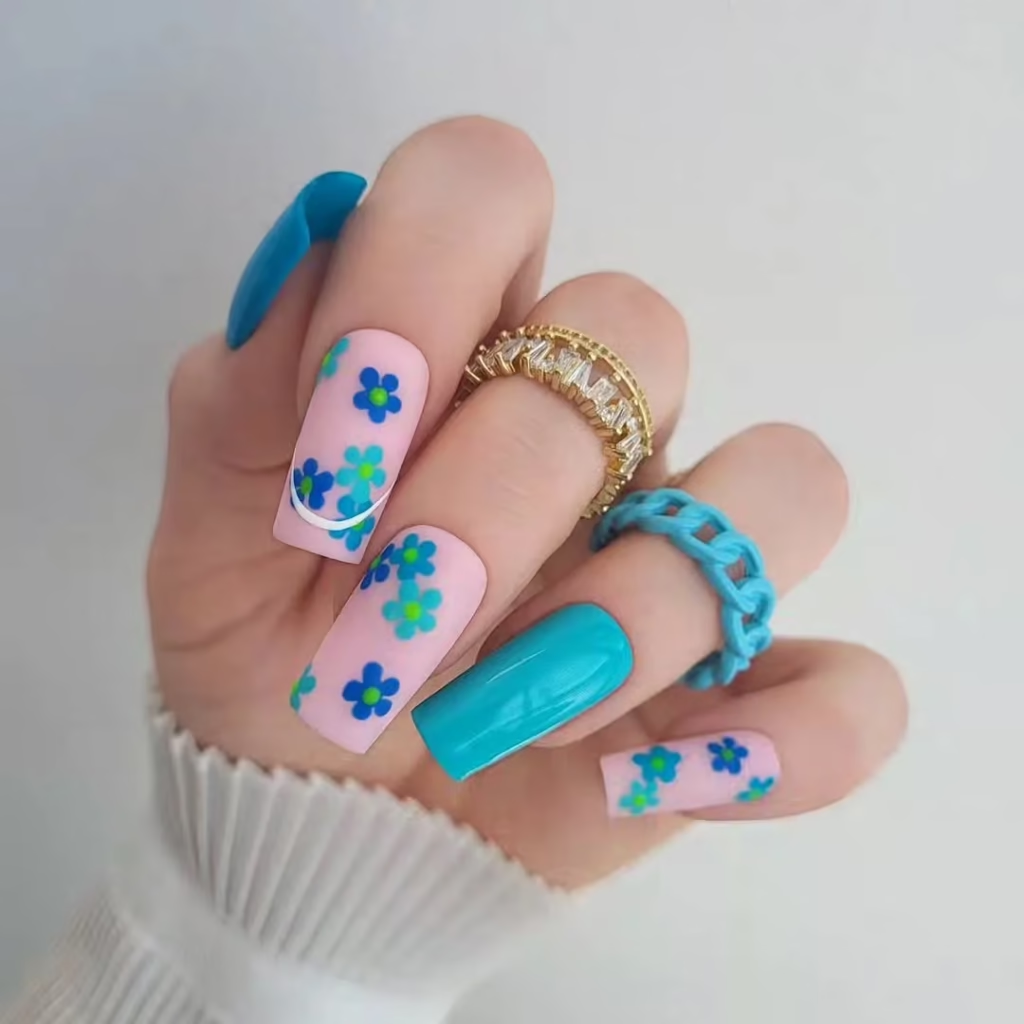
Painting your nails with nail polish or gel polish is a creative way to express yourself. It is very important to paint the polish thinly to get a professional appearance manicure. Not only does this help to make the colour vibrant it also guarantees an even application. Prep Your Nails – clean & dry nails, can have a base coat applied. The base coat acts as a barrier for grime and provides better adhesion. Once you’ve applied and dried your base, it’s time to pick your polish. Have a steady hand and work your way from the middle of the nail out towards its edges when applying the first coat.
This technique also avoids the buildup of too much polish at the cuticle that could cause the surface to appear uneven. Make sure you cover the entire nail evenly and as thinly as you can, because thick layers causes peeling and will take forever to dry. Let the first coat dry before applying the second one. This is where patience is rewarded: the addition of each layer adds more nuance and richness to the color.
Usually two to three coats is perfect for full coverage, especially for the light colors! The process for gel polish is similar, but you’ll want to cure each layer using a UV or LED lamp. This is a crucial step for preserving the long-lasting and tough quality of the gel finish. And also, when you got the color that you want,finish with a top coat will becomes a shiny and protected color. Not only does this make them look better, but it also helps your manicure last longer. There you go, some lovely polished nails How to Design a Stylish Living Room Step by Step
Seal with Top Coat
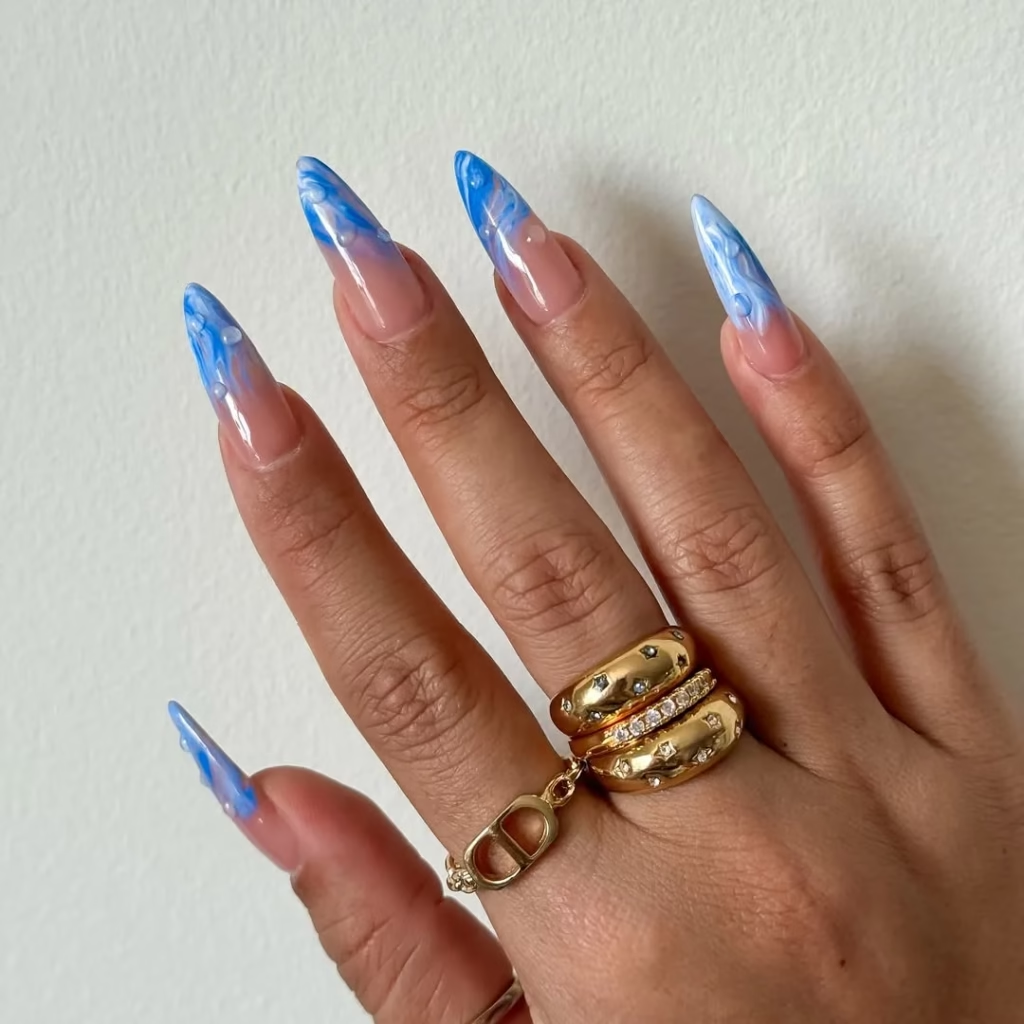
Applying your nails with a topcoat is mandatory in the run-down of how to apply nail polish. The topcoat has various benefits and vastly enhances the look and longevity of your nails. 1. A top coat has a beautiful shine to it that brightens up your overall mani. The shiny surface not only polish the color but also light up the fashion of your dress. This high-gloss top coat can turn the plainest polish into a traffic-stopping statement look that makes your hands looks like they just came from the spa.
Not only does a top coat add an extra layer and shine it also protects your nails from chipping, breaking and yellowing. “It is applied over your colored polish and it serves as a shield between your polish and your everyday wear and tear — this is especially great if you’re constantly using your hands with activities such as typing, cooking, and cleaning. The topcoat seals in the color of your nail polish, so the nails last longer and you can enjoy the beautiful nails longer. Not to mention a good top coat can smooth over any lumps and bumps in the colour you’ve painted on underneath. If you see any bumps or imperfections after applying in your colour, a top coat can smooth the surface to make the final finish look better.
This is great for textured or glitter type polishes, which can often have uneven surfaces. When it comes to a top coat, careful, one must be. With a clean brush, apply a thin but even coat, making sure to cover the entire surface of the nail, even the free edge. This trick, called “capping,” also seals the edges of your polish, adding extra protection against chips. Let the top coat dry fully; lots of formulas dry in a flash, but better safe than sorry. In summary, using a top coat is a necessary step for a manicure that enhances the look of our hands while providing certain advantages. It’s an easy way to take your nail art to new heights, and keep your mani looking great for as long as possible. Get the beautiful nails that you want with the help of Pro Nails
Moisturize Your Cuticles
Caring for your cuticles is one of those little beauty things that people tend to forget about when thinking about nail care protocols. Cuticle oil is a great way to maintain healthy, hydrated and visually appealing cuticles. It’s a simple thing you can do that can make such a difference in your overall nails and hands. Cuticles have an important job of being a protective shield for your nails so they can be safe from bacteria and infections. But things like dry air, too much handwashing, and using harsh chemicals can cause your cuticles to become dry, cracked, or damaged.
Here is where cuticle oil comes in. If you moisturize your cuticles regularly it helps to keep them soft and pliable, which ultimately means that they will not become hard and begin to flake. When selecting a cuticle oil, find one that includes hydrating ingredients like jojoba oil, sweet almond oil, or vitamin E, which are packed with fatty acids and antioxidants that hydrate and heal the skin. Using a cuticle oil not only moisturizes the cuticles but also promotes healthy nail growth and stronger, more durable nails. First things first, you should make sure that your hands are clean and dry before applying cuticle oil. Use applicator or dropper to place small amount of oil around cuticle area. Smoothly work oil into cuticle and skin in a circular motion.
Don’t just make the oil absorb better, it also aids blood flow, so the nails grow faster and stronger. Cuticle oil is one of the best habits to have for beautifully healthy nails. Try to use it daily, or even more if your cuticles are very dry. It might be super helpful to use cuticle oil right after you wash your hands or use hand sanitizer, as your skin can be stripped of moisture from both activities. So there you have it: keeping your cuticles moist with cuticle oil is a crucial step in having beautiful nails. Moisturising your cuticles not only makes them look better – it also helps to strengthen and support healthier nail growth. Add this simple step to your nail routine and rejoice in both hydrated cuticles and beautiful nails
