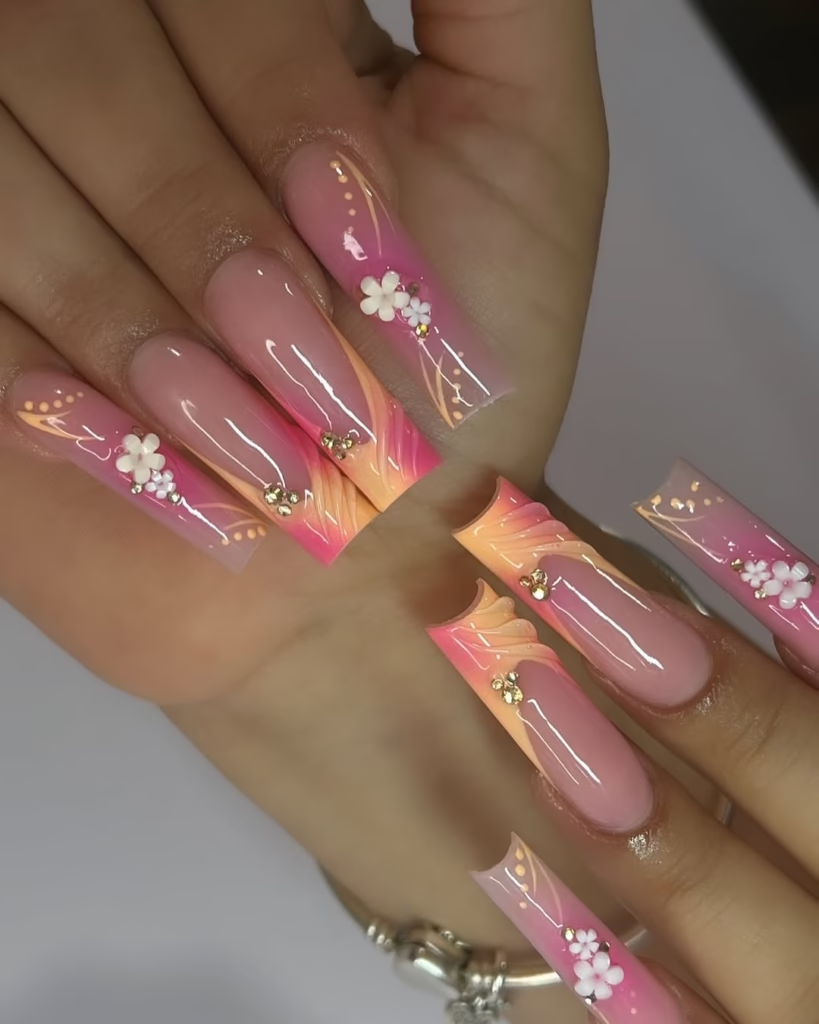
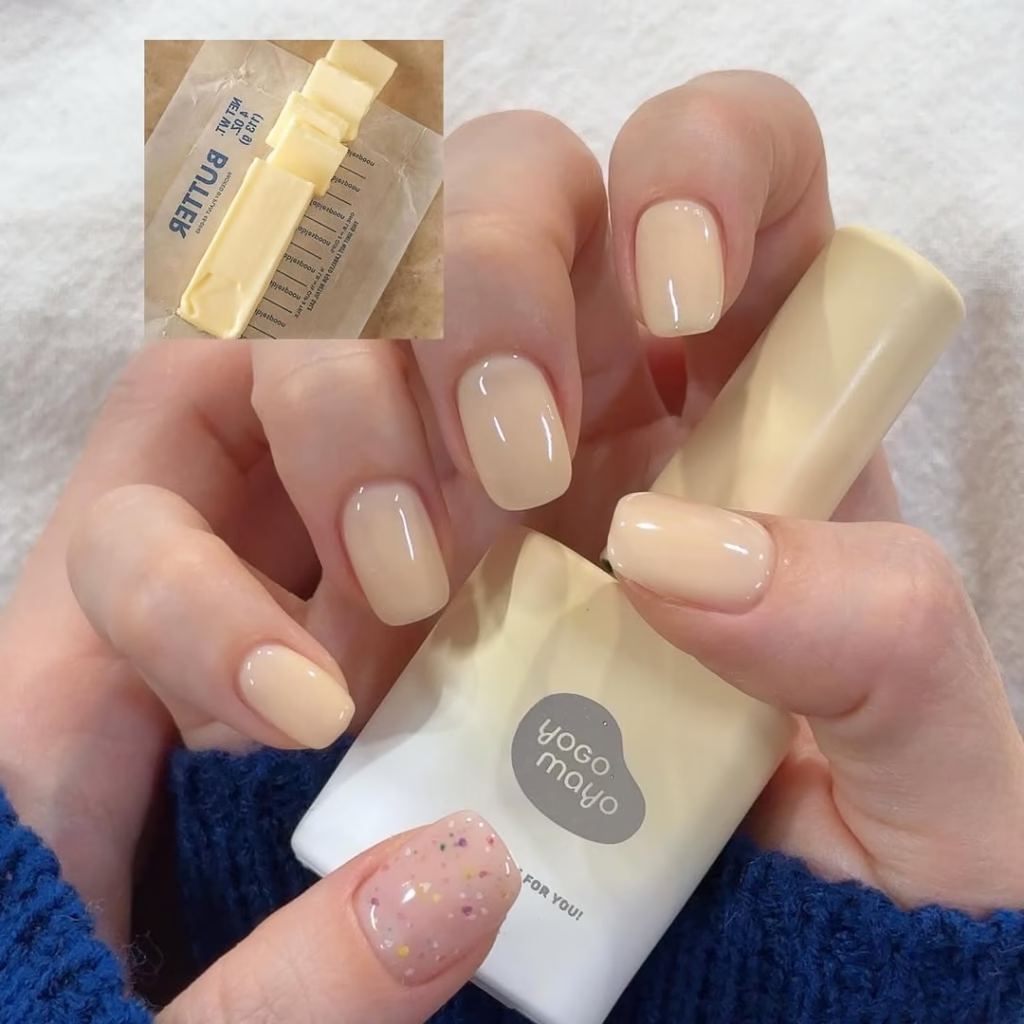
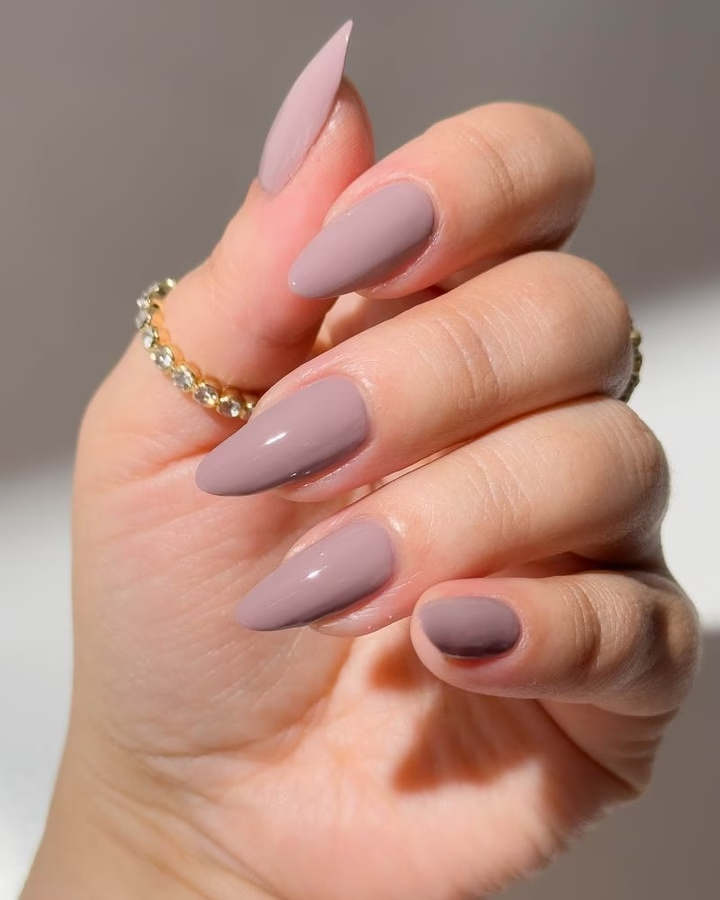
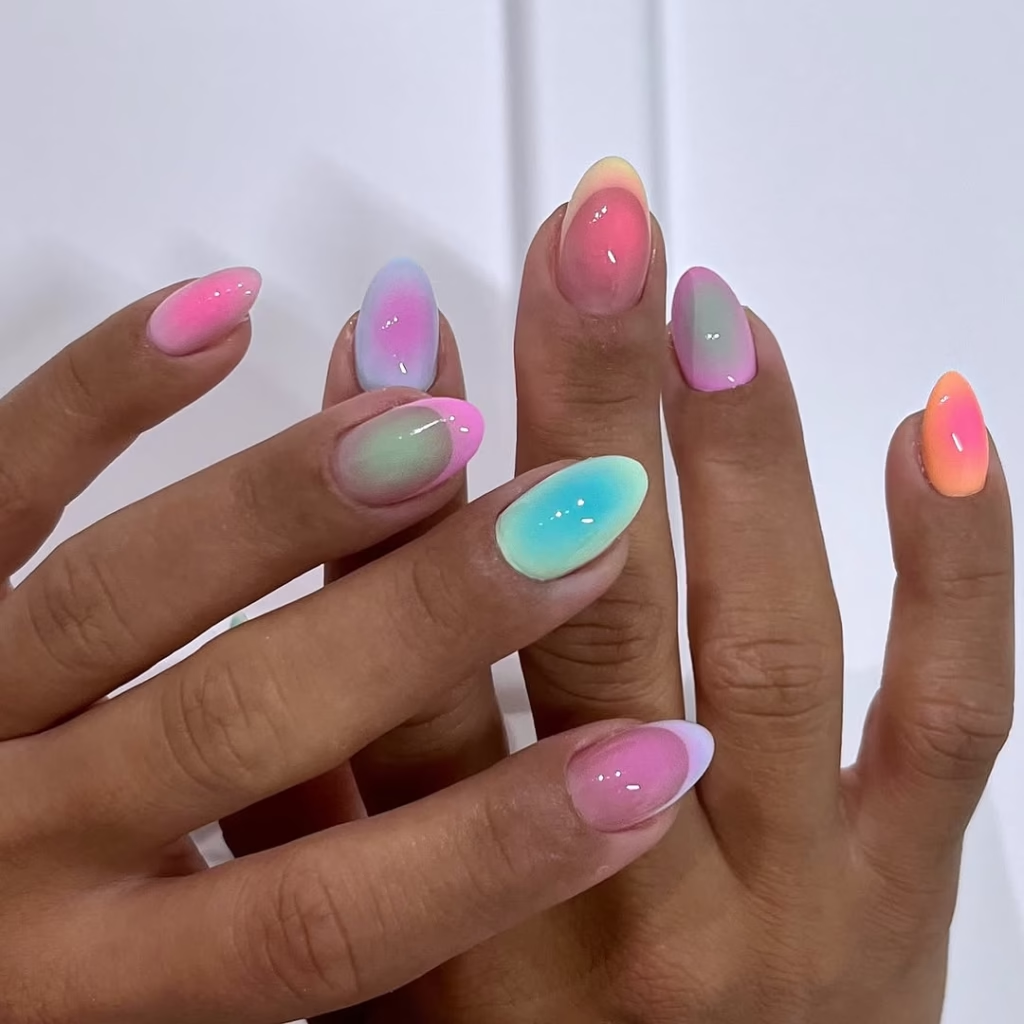
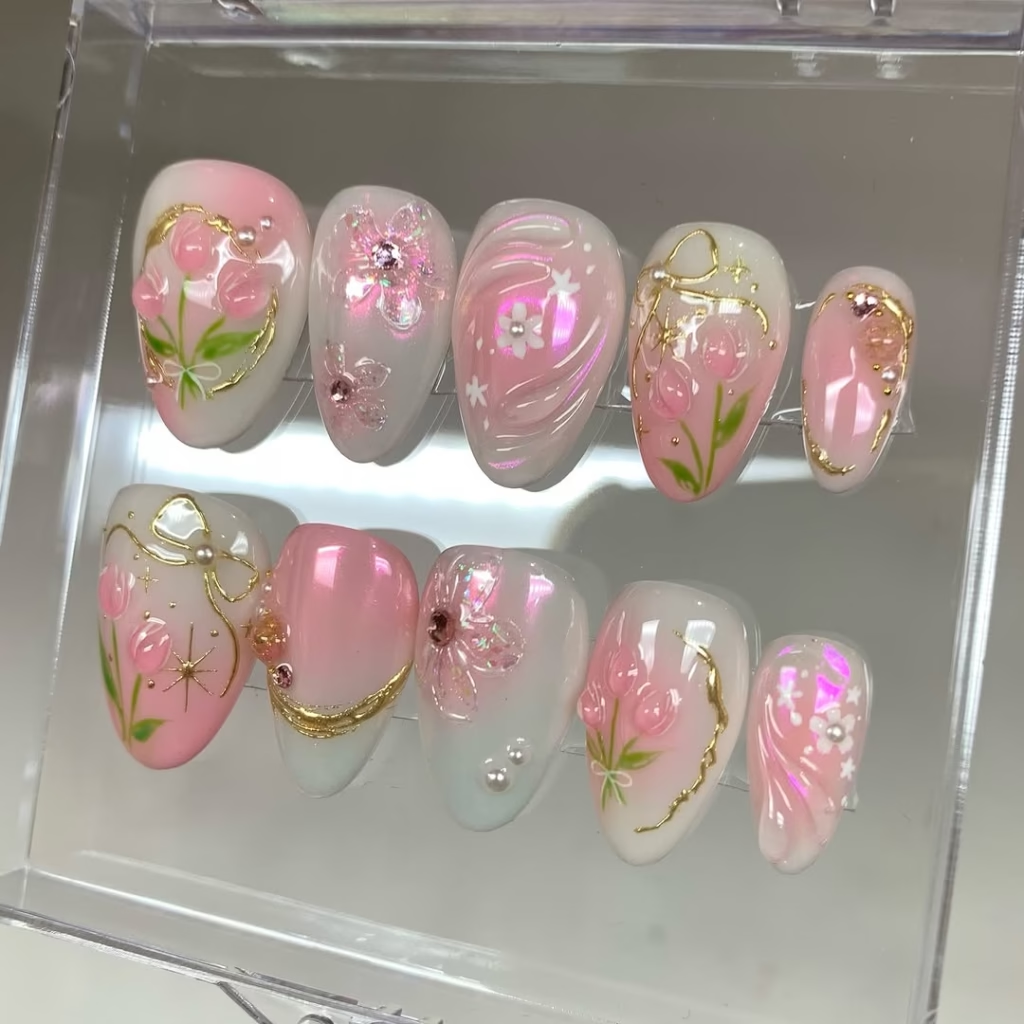
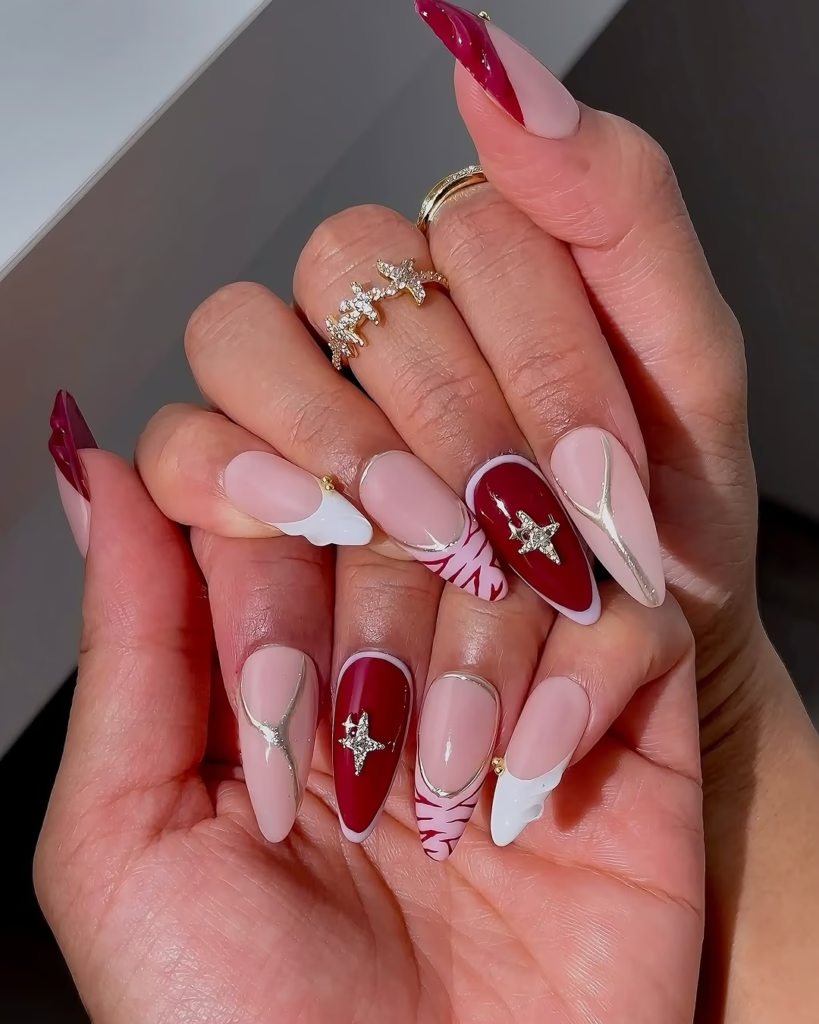
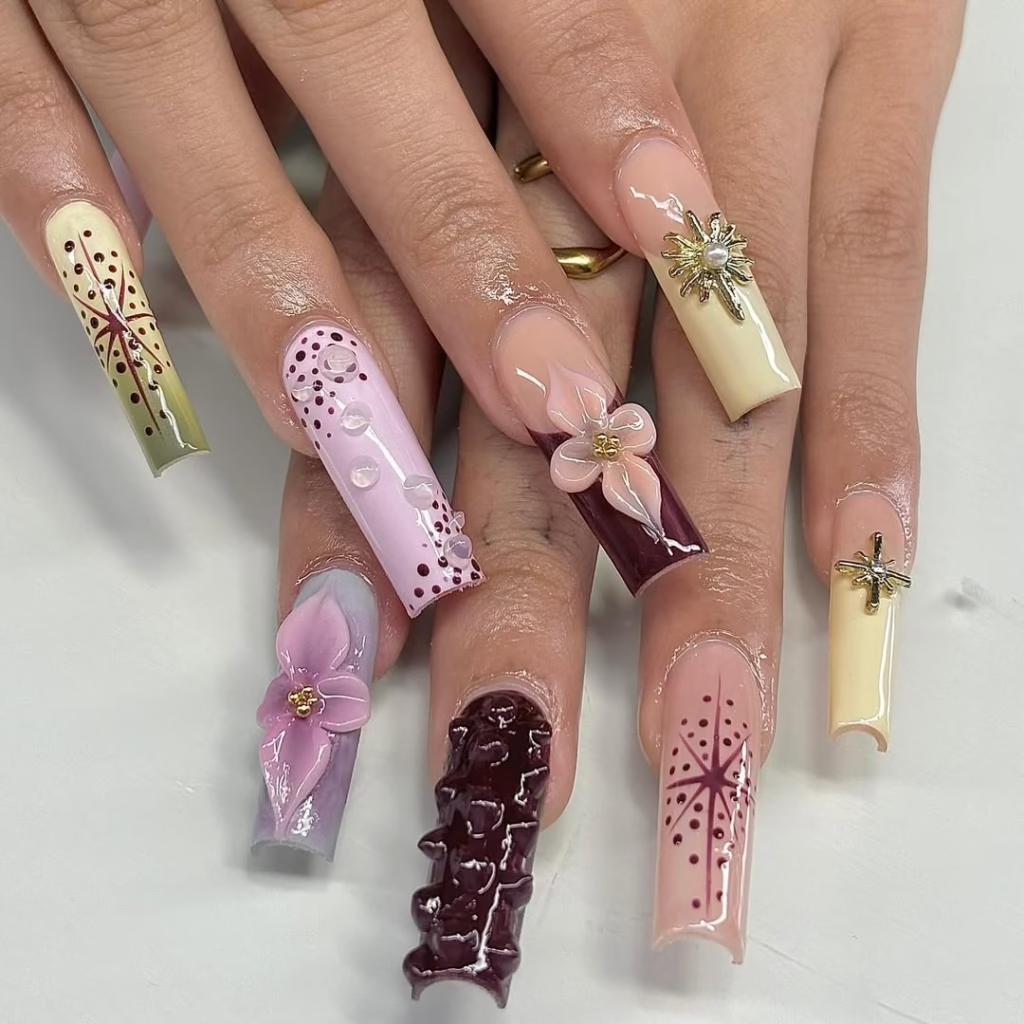
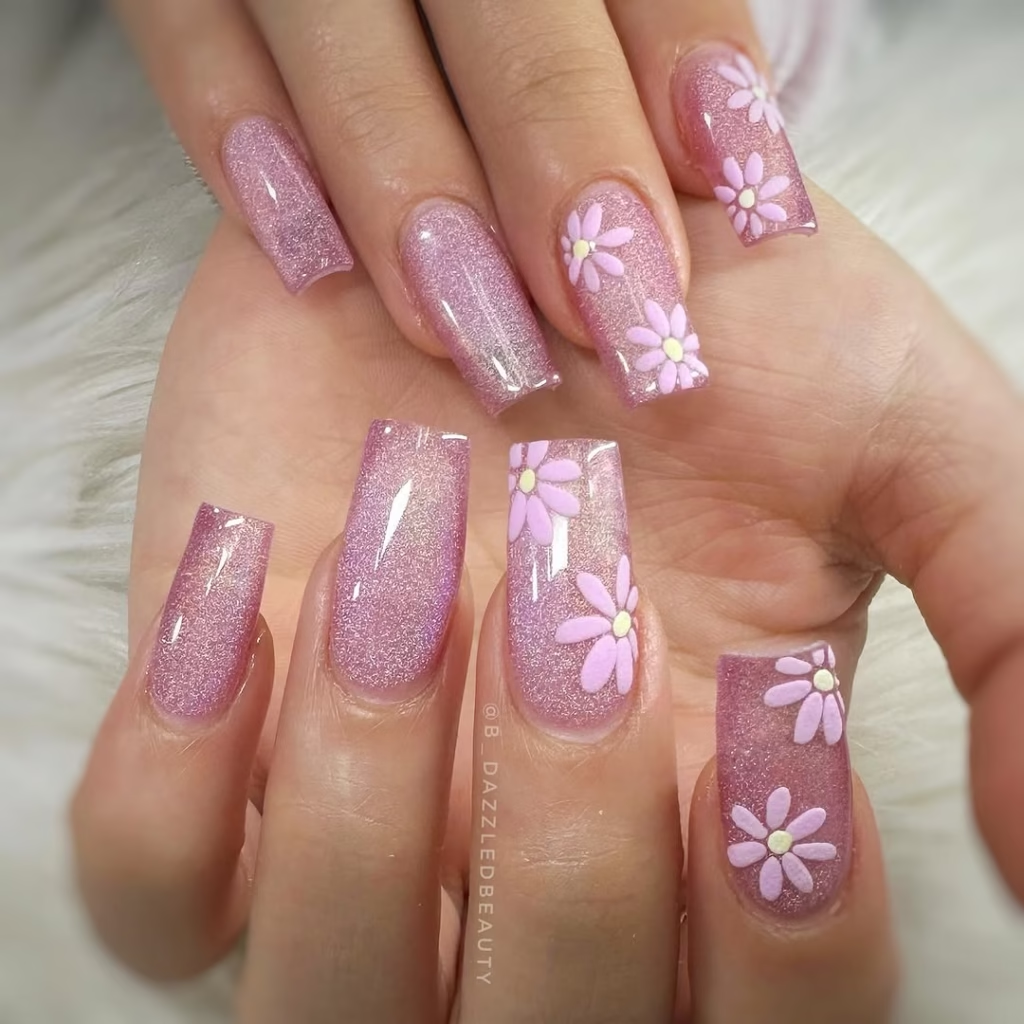
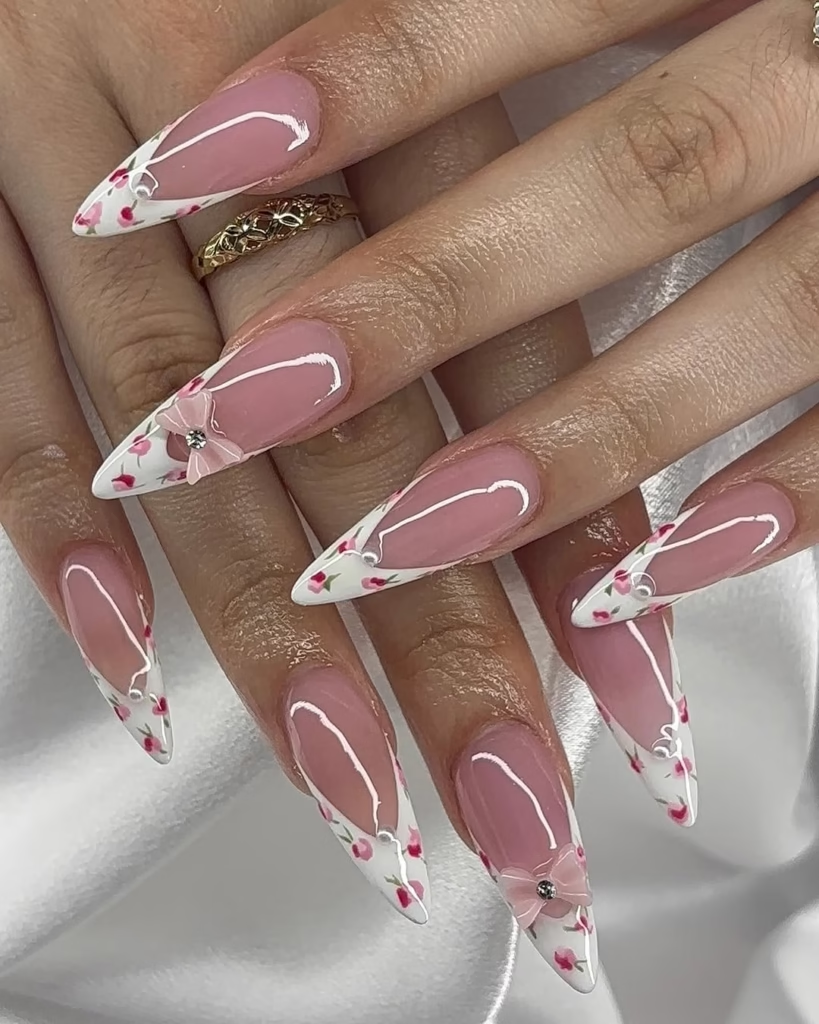
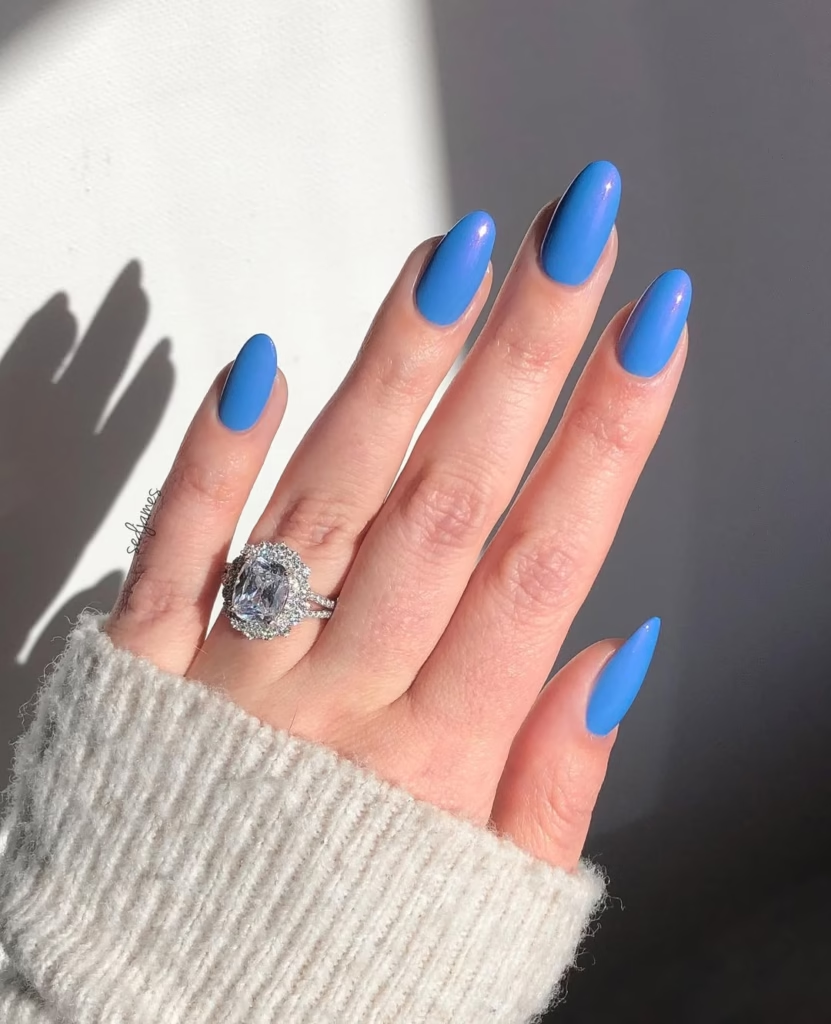
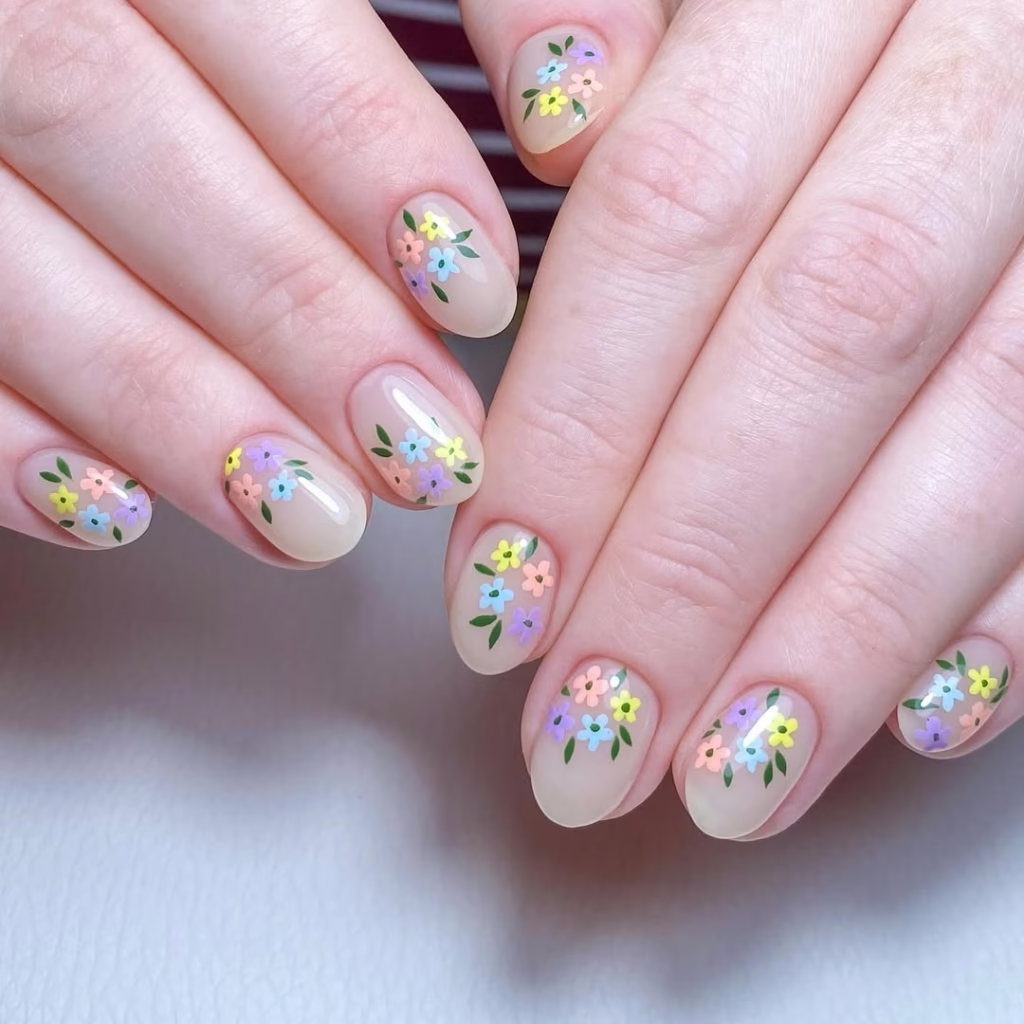
It is simple to elevate your nail game with a few techniques! Gather supplies first like Nail Polish, base coat, nail art tools etc. After cleaning and shaping your nails, paint on a base coat to prevent staining. Pick your base color, painting one or two coats then allow to dry completely. Use brushes or dotting tools for nail art, easy to create patterns and designs. Amp it up with some glitter or rhinestones, and seal it all in with a top coat. What is the last step of the nail avatar? Clean up any edges and allow these stunning nails to be fully dry
Gather Your Supplies
The first step when starting and doing your own nails at home is collecting all your supplies so that everything is ready for you to make the best out of it. It’s the base of your design — start with nail polish. Pick a selection of colors in the shades of your mood (or the season); having both base hues and accent colors will give you lots of creative options. You also want to remember to use a base coat and a top coat.
The base coat protects your nails from staining and allows the polish to adhere better, making the design last longer. A quality top coat is essential for sealing your work to give it a gorgeous sheen and to protect it from chipping and wear. Aside from polish, get yourself a couple of nail art brushes and a dotting tool. Both of these tools are important for developing complex designs, patterns, and details. Dotting tools are especially useful for creating dots, flowers, and other unique shapes.
Finally, collect decorative pieces such as glitter, rhinestones, or nail stickers to beautify your designs. These embellishments can take your nail art to the next level and make them completely unique. Having all this supplies collected beforehand will lead you to a successful and fun session of nail design
Prepare Your Nails
Nail prep has never been so important, the foundation of any great nail design — one that is not only beautiful but long-lasting. Step one: Make sure your nails are clean and dry. If you have some old polish, clean your nails well with a good quality nail polish remover and make sure that all the traces of color are removed. This is a need to ensure that no previous polish will affect the design that you will create. After removing all polish, you can clip and file your nails to your preferred shape.
Whatever shape you prefer — square, oval, or almond — you’ll achieve smooth edges and a perfect appearance with a nail clipper and nail file. And make sure to file in one direction only so you don’t split or damage the nails. Next, focus on your cuticles. A cuticle pusher or an orange stick will gently push back your cuticles to give you a the neater appearance and more space for your nail design. Don’t force it too much, because this can irritate.
Lastly, a little cuticle oil goes a long way in moisturizing the cuticles, getting them ready for the process of design. Taking the time to prepare your nails will give you a clean base that takes your entire mani from good to stunning.
Choose Your Colors
One of the most important steps in your nail design is to choose the right colors, which can greatly affect the appearance of your nails. The first step is to choose your nail polish colours for that, and think about how they speak about your personality or the event. For a more dynamic feel, try adding complementary shades — colors that sit directly across from each other on the color wheel, like blue and orange or purple and yellow. Together, they can also create a contrast that stands out and makes your nails pop with color.
Choose classic colors like deep red, pale pink or sophisticated nude, if you want something classic and sophisticated. The shades bring a touch of sophistication and can be dressed up or down for a day, night, office, or even a wedding. Also, keep the season in mind when deciding your colours; pastel tones are suited for springtime, while deep, darker colours work best for fall and winter. And don’t shy away from mixing textures and finishes, either.
Matte, glossy, or glitter finishes can change the mood of your design. Again, make sure you try all of your chosen colors together before you use them; you want to make sure they work beautifully together! However, careful colour co-ordination of your nail polishes can grant you a gorgeous and creative ideas manicure.
Create Nail Art Designs
Nail art designs are the birthplace of creativity, creativity each style adorning your limbs is more than just a well-lacquered finger, it is your personality and a wondrous display that can make heads turn! Begin by gathering your nail art brushes and dotting tools, these will be necessary for achieving your quite designs. Fine-tipped brush – Great for painting detailed patterns Dotting tools – makes perfect dots and shapes with no hassle. Experiment with different patterns and styles while decorating your nails. For example, use contrasting colors to create elegant stripes look. Another option is floral designs, which can bring some femininity and charm if you just do some smaller petals and leaves painted to give a sweet touch. For the adventurous, try geometric patterns with angles or lines that can give your manicure a modern, edgy feeling. Feel free to combine and blur techniques! Whether that means doing different designs on each nail or a nail art stamping kit to keep the same patterns on every nail. Textures such as glitter, matte, etc., can also be used when you need to elevate your designs to beat the competition and make them stand out. And just have fun with it — each nail is a little canvas ready to be painted however you like.
Add Details
Nail designs reached their peak when there’s more going on in addition to the base design, to spice things up even more. Glitter is one of the many popular ways to do this. Whether you want to put fine glitter over your base color, or go for bigger pieces of glitter, this sparkly aspect can really take any manicure to the next level. When using glitter, think strategically, like an accent nail or a fade to the tips for a gorgeous ombré effect.
Another great way to add glamour to your nail art is to use rhinestones. These tiny glimmering beauties can be sprinkled on the body in intricate designs, used to create shapes, or be an accent piece of your design. To keep rhinestones from sliding around, you’ll want to use a dot of nail glue or a clear top coat when applying them to your lacquer. Nail stickers also make it super easy to add some fancy detail to a set without having to master freehand.
From flower designs to geometric shapes, there’s literally a sticker for every aesthetic. Incorporating these elements into your nail art allows you to express your own creativity in a deeper, textured way. With that said, the right details can take an average manicure into a mesmerizing artwork
Seal Your Design
Sealing your nail design is the vital last step that ensures that not only your artwork looks pristine but lasts longer as well. After you’ve finished your elaborate nail art and it’s to your liking, it’s time for top coat. This transparent lacquer has more than one purpose; primarily, it functions as a sealant, encapsulating your design and preventing it from smudging or fading.
A quality top coat can do so much to keep your manicure on for the long haul, with less risk of chipping and less wear on your nail art. Use smooth, even strokes when applying the top coat to cover the entire nail, catching any edges or corners you may have missed. This will allow for a consistent finish that accentuates your designs.
Moreover, a proper top coat will provide a pretty sparkle to your nails, making them look like they were skillfully groomed by a professional. However, if a different effect is desired, there are various types of top coats you can find, including a matte finish for a more understated look or a gel top coat for a high-gloss shine. Finally, wait for everything to dry when you put the top coat.
Clean Up Edges
Cleaning up the edges of your nails is a crucial step for a fresh look to help your nail art look fresh from the salon. After painting your nails and making your designs, you might have polish on the skin surrounding your nails. Totally normal, especially with complex patterns or bright colors. To fix this, you’re going to need a small brush—one for detail or even a small paintbrush will work—and nail polish remover.
Start by dipping the brush in the nail polish remover, but do not saturate it because you need just enough to properly clean the edges without making it dirty. Carefully trace the around your nails and remove excess polish from your skin. Not only does this careful job improve the overall look of your manicure, it also helps shape your nails, allowing designs even more to shine! If a brush isn’t available, you can also use a cotton swab for more targeted cleaning.
Once you’ve cleared up the edges, put a little cuticle oil on the skin around your nails, to hydrate them. This will allow you to show off your design without the awkward 5th graders look.
Let It Dry Completely
Letting your nails dry thoroughly is an important last step to any kind of nail design that makes sure your effort is not wasted. When you take the time to create stunning art and add color and details, the last thing you want is to smudge or ruin your beautiful design! To avoid this, seek a cool, well-ventilated space where you can leave your nails to dry without disturbance.
During this drying phase, it’s best to hold off on anything that may irritate your nails, like typing on a keyboard or using your phone. Drying time can vary, depending on what type of polish and top coat you wore, so be patient. If you’re eager to speed up the process, consider a quick-dry top coat; this type is designed to dry faster than regular top coats. To test whether your nails are dry, lightly press the surface with a fingertip; if it feels tacky or leaves behind an impression, let them sit a little longer.
Enjoy the special creations you’ve made, and don’t be afraid to show them off to friends and family! Whether it’s a delightful set of acrylics or some stunning self-manicuring, nails have long been a medium of self-expression and a great ice-breaker. Do pride in proving your artistic talent and switching styles with little effort — just like taking good care of your nails can help you get those fantasised healthy nails
