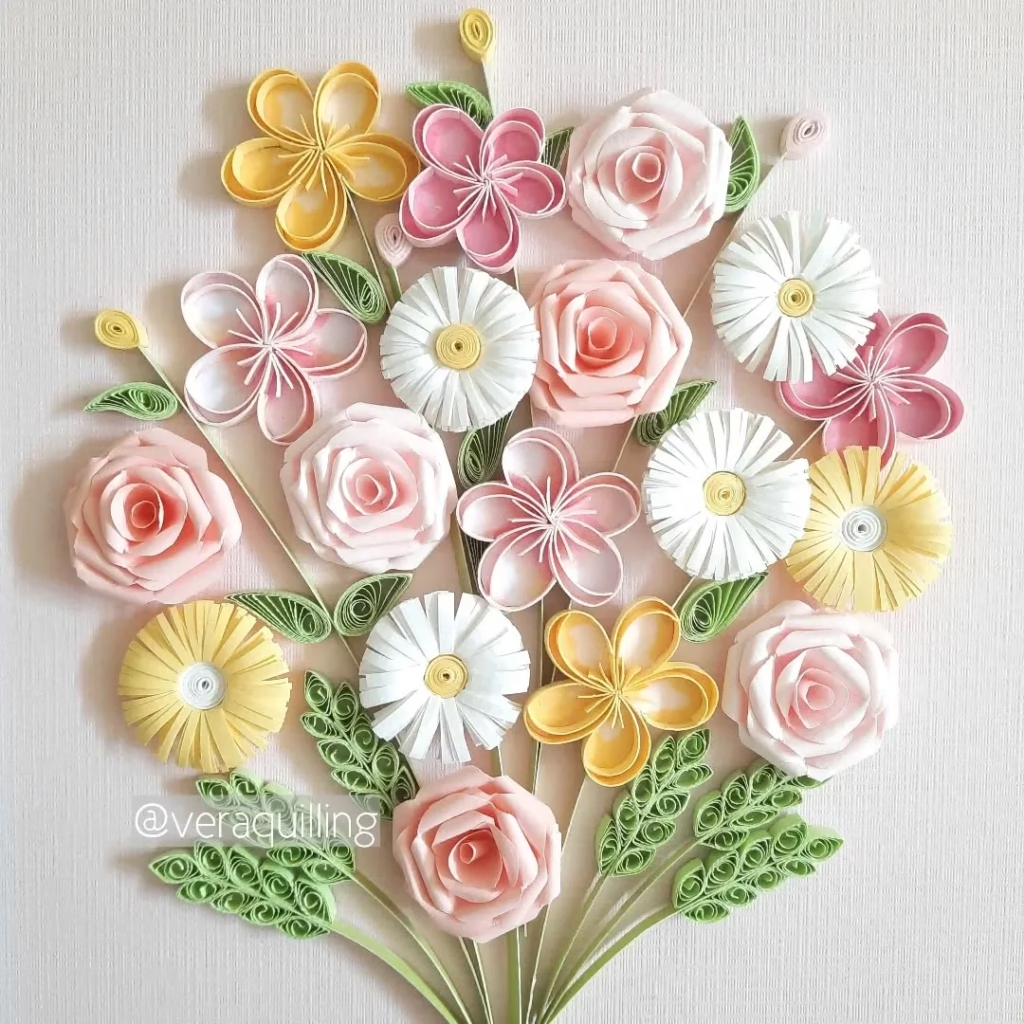
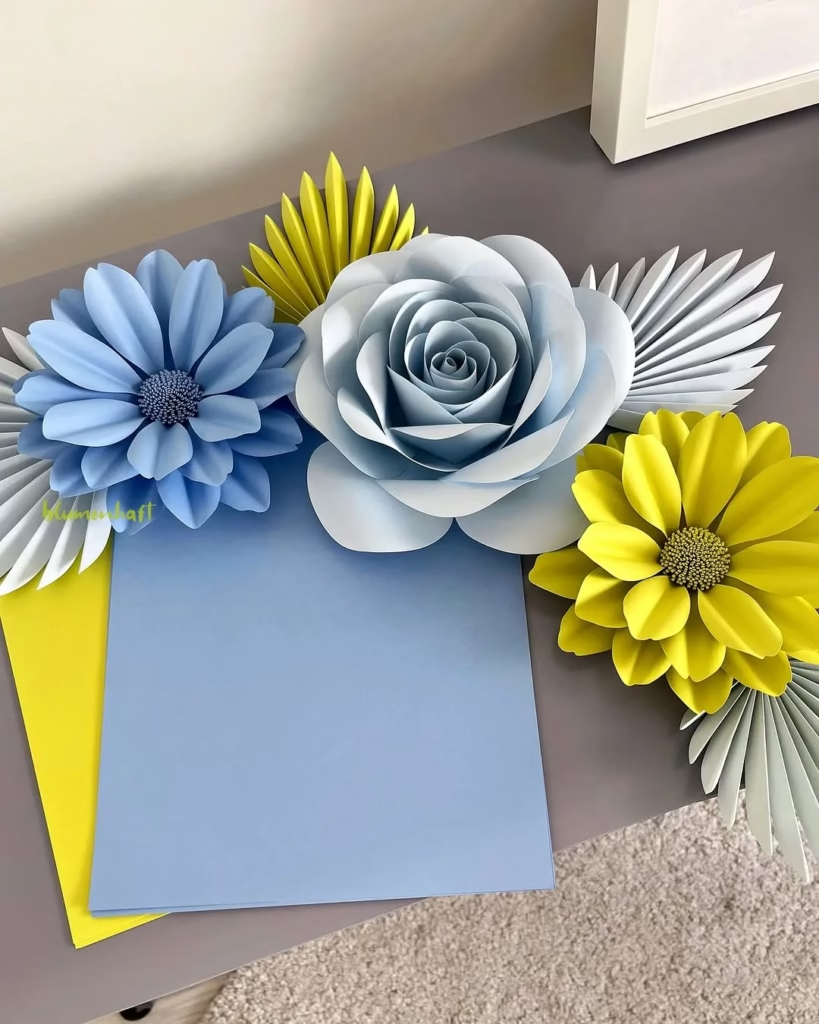
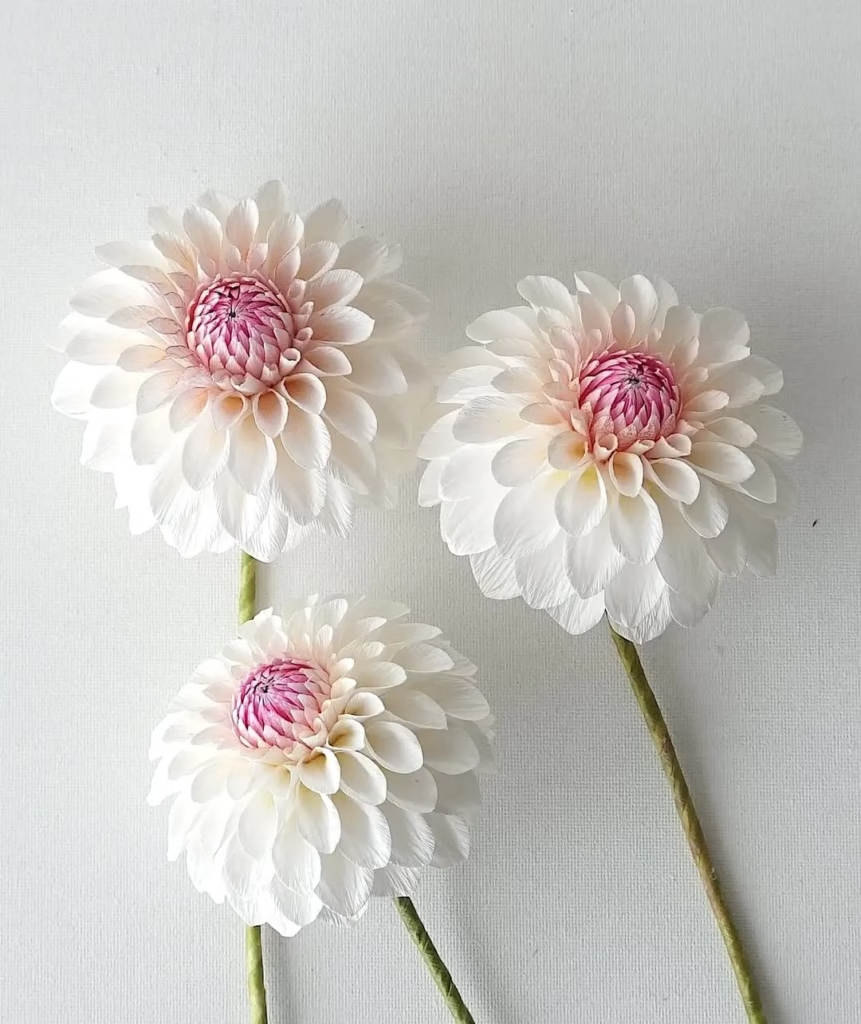
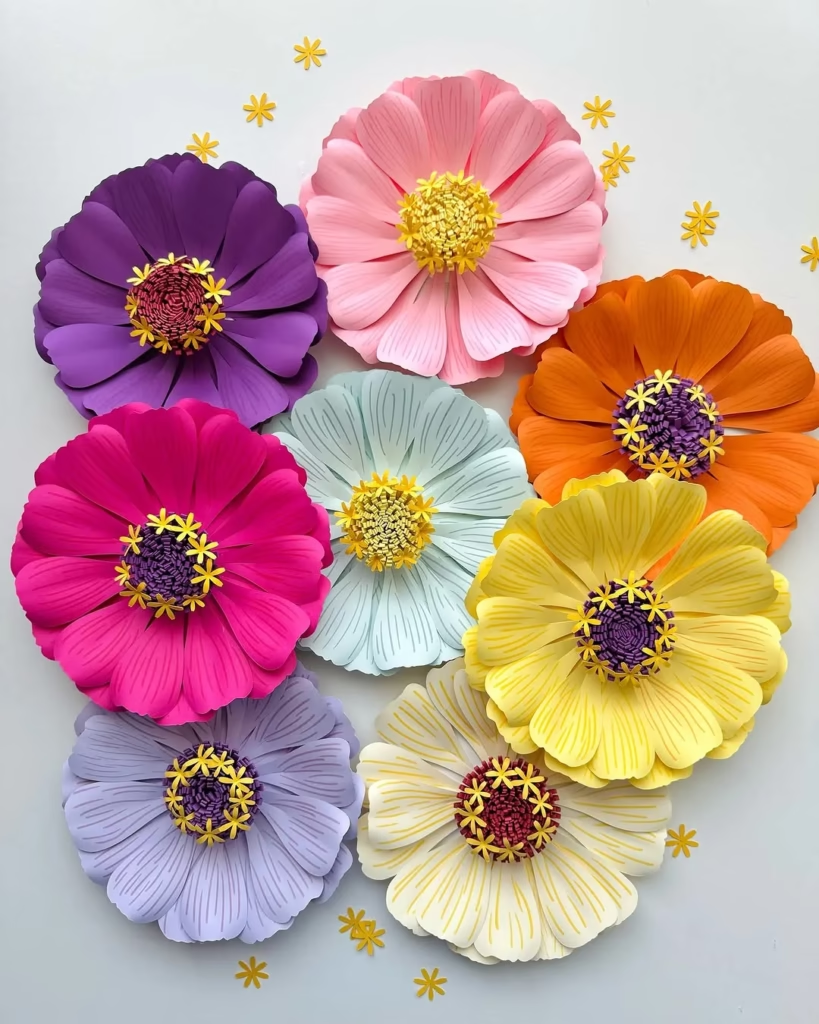
Gather Your Materials
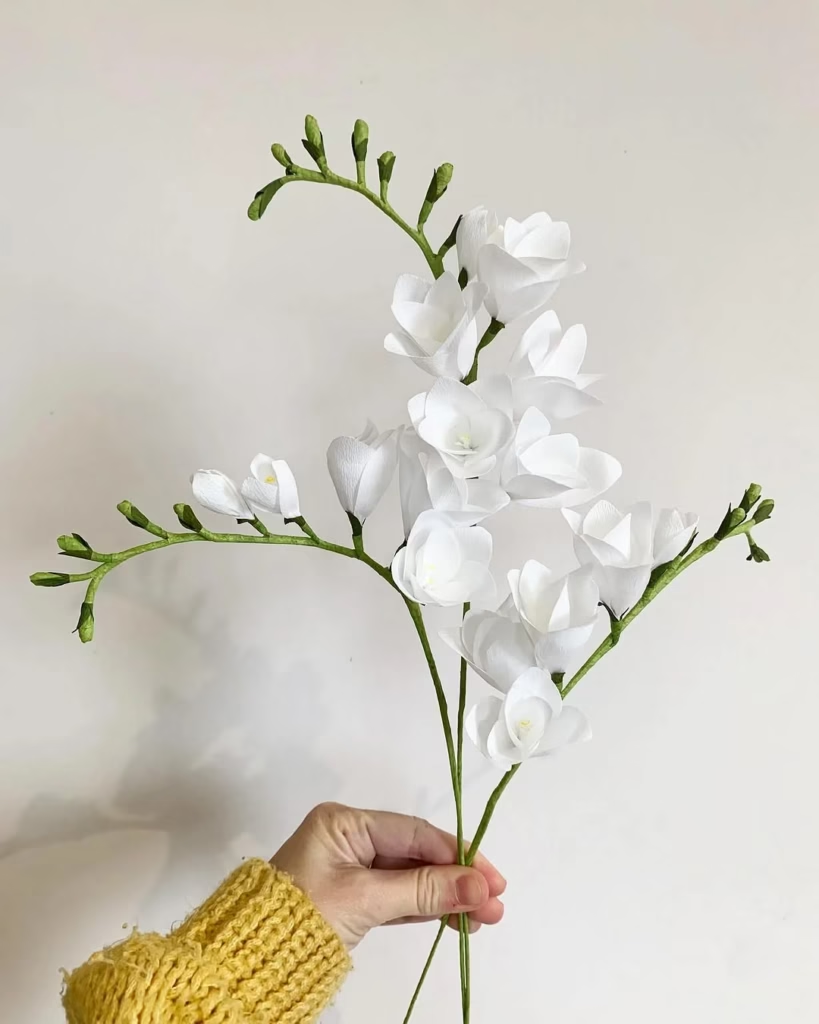
Paper flowers are best made by beginning with the right materials and the first step is gathering what you need to start your creative project. The type of paper to use is important, as this will impact the look and feel of your blooms. You have phenomenal options available for you each with their own unique things. Tissue paper is light and provides a soft and airy appearance, making it ideal for fun blooms. Available in an endless spectrum of hues, there are infinite permutations and combinations to be dreamt-up and executed. Unleash Your Style: How to Design a Stunning Bedroom
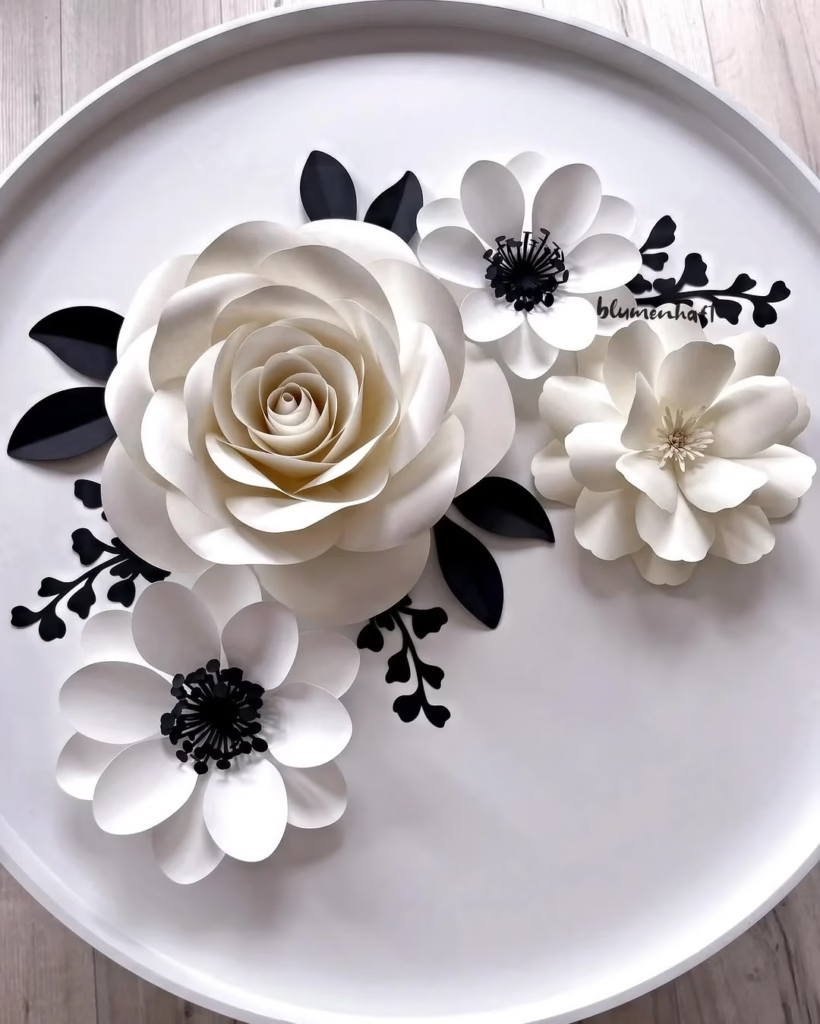
Crepe paper, on the other hand, is a bit thicker and has a crinkled texture that gives your flowers depth and dimension. This kind is particularly popular for realistic floral representations, as it is very malleable to mimic natural petals and leaves. Finally, cardstock is an excellent image weight option, perfect for making strong, structured flowers that maintain their upright stature. Its many hues and patterns can also contribute a striking visual element to your arrangements. The second thing you will need is some simple flower assembly tools aside from paper. Pair of scissors (for cutting out your petal shapes from the selected paper)
Floral wire will hold your flower together making it become stable and allowing you to form a stem. You’ll need floral tape to hold the petals and leaves together (this stuff is great), and a glue stick can help with any other attachments or decorations you may want to use. Gathering all these materials beforehand will set you up for easy crafting, whilst also ensuring you have everything you need to make your flowers blossom
Select a Flower Template
Paper florist blooms can be made more manageable by choosing a flower template. Templates are great for getting the same shape petals and leaves, which definitely helps to create a more professional, uniform finish. With so many different types of flowers to choose from, you can go with a design that matches your personal style or the occasion you’re making for. First, Google flower templates and dozens of crafting websites will pop up with free downloadable templates.
These templates are available in different styles such as simple and minimalist designs to intricate and detailed patterns. This may involve browsing the internet for inspiration and templates that are appropriate for your requirements, using sources like Pinterest, Etsy or specialty crafting blogs. If you want a more personalized approach, you can create your own templates. Whether you jump on paper to draw your ideas or use design software to make one-of-a-kind petal shapes specific to your vision.
This gives you total freedom, so you can use certain scale and styles as you see fit to achieve your goal! After you have selected or created a template, print it out and cut it out carefully. This will be your guide for tracing onto the paper you chose before. Moreover, by using a template, you will save yourself the need to remake shaded color of flower petals and leaves, thus bringing you a beautiful coordinated flower arrangement. Whether you choose a template or make your own, this is an important step in preparing to make your paper flowers look beautiful. Elevate Your Style: Step-by-Step Nail Design Techniques
Cut Out Petals
Cutting Petals — The pivotal moment in how your paper flowers will turn out in terms of the overall structure and fullness. Now that you have your template purchased, you will want to create your flower design by cutting out several petals from your chosen paper. This part of the process must be precise so that all petals are the same size and shape, working together to make one flower visually stunning.
Before starting, it’s useful to tidy your work area and make sure you have a sharp pair of scissors at your disposal. This leftover mess can compromise how your flower looks; dull scissors can result in jagged edges. Cut along the edge of your template, going slow to ensure clean cuts. For more complex designs, a craft knife can be used for more precision, particularly around tighter curves. For a more full and luscious flower, it’s best to cut more petals than you think you’ll need. As a rule of thumb, try to have 5 to 7 petals per flower at the least. Craft Your Own Paper Flowers: A Creative Guide for Beginners
This makes space for overlapping and layering, giving depth and dimension. You could also try a variety of petal sizes and shapes for interest. After cutting your petals, you may also want to lend them some shape by curling (gently) the edges. This one little detail can drastically improve of the appearance of your flower and have it look more alive and detailed. Now that your petals are prepared, you are one step closer to putting together a beautiful paper flower
Shape the Petals In Paper Flower
Using the curling tool to shape the petals is key to creating realistic flower blossoms from flat sheets of paper. This gives your petals depth and personality, making them look more realistic and pretty. It can be done with simple tools and techniques that provide the director with a great deal of freedom and use as a resource for flower designs. An easy way to do this is to slightly bend the edges of each petal. You will do this using a pencil or the rounded side of a paint brush. Put the petal on something flat, gently press the pencil or brush edge into the petal and roll it a little. Craft Your Own Paper Flowers: A Creative Guide for Beginners
Rounding the corners of the petals gives the text a friendly, petal-like curvature. Another technique to try is crumpling the petals. Rubbing the paper in such a way creates a texture, allowing your flowers to have varied depths and making them appear more natural (bloom vs bloom) as opposed to mass-produced. If you need to crumple them up, smooth them out a bit afterwards so that they don’t crinkle too much, but still have that natural look. And also, do not be afraid to play with shapes.
Some flowers have sharp petals and while others have rounded. Playing around with the shapes and dimensions, you can create a varied bouquet that lets you flex your artistic muscles. Finally, when shaping your petals, think about the full arrangement! The slight bend or curl of some petals creates a more dynamic look when layered atop each other. These are simple things will make your paper flowers look wonderful as decoration or almost real gifts. Your petals are shaped, they’re full of character, now you’re ready for the next thrilling step on your flower making adventure
Assemble the Paper Flower
The assembly is where all that hard work comes together to form a beautiful assembly that shows off your creativity and skill. The next step is adding more depth and shape to the flower by layering your petals. Right away, start layering your petals in a circular arrangement. Lay your first petal at the top center of your workspace. Next, slowly build the other petals around that first one, overlapping each of the 4 petals a little bit to create that bloom structure. Craft Your Own Paper Flowers: A Creative Guide for Beginners
The trick is making sure that every petal is angled outward in a way that emulates the emergence of petals in real flowers, which flare outward from the center. Ensure balance and symmetry, creating a visually pleasing design. When you’re layering the petals, think about the order in which you put them. Depending on the desired result, you may also use larger petals and smaller petals to differ your designs. For extra realism, consider that petals in nature often vary in size and shape. This diversity can lend complexity and make your flower more visually compelling.
When you’re happy with the composition, it’s time to fasten the base of the petals. Floral tape or glue can help keep the whole thing together. Using floral tape is best because floral tape is flexible enough to easily wrap around the base without adding bulk at the bottom of the bouquet. If you opt to glue them, just a drop at the bottom of each petal will do to keep them in place. We take our time doing this assembly process; this is your time to present your artistry. After this assembly, you flower is ready for the final touches or exhibit proudly as an incredible work of art
Create the Center In Paper Flower
Flower Outline Final Touch: Adding the center of the flower is a fundamental final touch to give your drawing an extra beauty, adding realism. The flower center is the icing on the cake — it is the featured attraction, bringing the eye in and adding that last little touch that breathes life into your paper flower. When wanting to create the center, there are multiple creative options available, and they all will give the center its own unique vibe and theme.
A common option is a small pom-pom. Easy to find at the craft store, these little fluffy accents add some texture and soft touch to your flower. You may select a color that coordinates with your petals or mixes for a brilliant splash. Just place the pom-pom between the petals you layered on top of each other and stick it with some glue. As an alternative, you can create a rolled piece of paper that acts as a center representative of some flower varieties, such as a rose or daisy. To accomplish this, cut a thin strip of paper (in the case of Christmas trees, the more colorful the better) and then roll the strip of paper very tightly from one end to the other, gluing it down as you go so it stays secure. This method can easily be customized with the size and color to match your flower aesthetic. For something more decorative, you could use beads. Craft Your Own Paper Flowers: A Creative Guide for Beginners
Adding beads would create a flower center that is shiny and elegant. When picking out beads for your flower, be sure to select bold, beautiful beads that will match the color scheme of your flower as well! You can use a strong adhesive to stick them securely in the center. Whatever you decide, make sure that the center is secure in the middle of your layered petals. This will not only improve the stability of the flowers but also solidify your work for a perfect finish look. Then it is time to create the flower center, once that is done, your paper flower is now ready to put on display, gift or use in other creative projects
Add Leaves in Paper Flower
Leaves are a great addition to your paper flower they add to the organic look of the flower and give a nice contrast to the colour of the petals. Adding leaves not only complements the flower but also gives a fuller and more natural appearance to your overall design. You can use any shape or size you want for your leaves, and this is what makes this step even more fun! Begin with whatever type of green paper you are using for your flower’s color palette. Craft Your Own Paper Flowers: A Creative Guide for Beginners
Use construction paper, card stock or even patterned paper to give it some visual interest. Now that you have your chosen paper cut outs in the shape of leaves. Use varying widths of the shape — some leaves can be big and shaped like a teardrop, while others can be tall and skinny. That means you can use templates for uniform shapes, or you can freehand your designs for a unique touch. Try to remove a few leaves as well; having a variety of sizes and shapes will help make your flower arrangement feel more dynamic.
After your leaves are cut, it’s time to attach them to the bottom of the flower. Stick the leaves around the flower nicely to create a balanced look. Floral tape or glue — either will do the trick, although floral tape is a little bit more flexible and you can change things around if something isn’t quite to your liking. If using glue, add a small amount to the base of each leaf and press it tightly against the flower’s stem or the spot where the petals meet. And remember to think about the angle and position of the leaves. Slightly angling or fanning them out will help give it a more realistic, life-like look. This beautiful paper flower with leaves will look like fresh and bright looks—will make it the perfect decoration or gift to show off your skills Transform Your Style: How to Make Beautiful Earrings at Home
Secure the Stem
Step 6: Secure the Stem The last step in making your paper flower is to secure the stem, giving your flower stability for easy handling and display. Not only does a good stem add another layer of visual detail to the flower, it makes it look more lifelike as if it had just been cut from a garden. Step one: Grab a piece of floral wire. Step 2: Use Chicken Wire to Create a Stem Chicken wire is a hard material, which is perfect for supporting a stem — it can be shaped to fit your needs and adjusted to the height you want.
Cut your floral wire to size and depending on how tall you want your flower. A good guideline here is to make the stem 12 to 18 inches long at a minimum, enough length to arrange them in a vase or bunch. The next step is to hook your floral wire to the base of your flower. Set the wire so that it rests up top against the base of the flower (ideally where the petals meet the leaves). Oh, and it has to be firm enough to hold in place, so wrap it around the base of the flower and make sure it is well anchored! After the wire is attached, wrap it with floral tape. In addition to securing the wire even further, this tape gives your stem a polished and finished appearance. Craft Your Own Paper Flowers: A Creative Guide for Beginners
Start at the end of the flower and spiral down the length of the wire, overlapping as you cover for an even smooth cover. When you wrap, don’t pull on the tape too much; it should be tight enough to hold everything together, but not so tight that it changes the shape of the petals or leaves. When you get to the right length, simply cut the tape, and press down the end so it sticks in place. Now with the stem securely in place and wrapped your paper flower is no longer just a piece of art but also a functional decoration perfect for brightening up any space or occasion
Final Touches
It is the finishing touches which elevate your paper flower from a simple craft to a bespoke piece of art. Now it is time for you to add your creative flair, your own style and make this flower your own. Adding particulars can make it more lovely and show-stopping, so unleash your creativity! A common technique for enhancing your flower is the use of glitter. Even a whisper of glitter adds the sparkle and shine of morning dew on real petals.
For applying glitter, simply use a glue stick, or spray adhesive onto the areas where the glitter should stick. With mirror glaze you can add shiny highlights to the edges of the petals or on the flower center to make it more magical. Along with glitter, try using paint for added depth and dimension. Use acrylic paint or watercolor to make gradients or with a finer brush to define the veins on leaves and petals. Using a thinner brush, you can add details that resemble naturally occurring blemishes on real flowers. Craft Your Own Paper Flowers: A Creative Guide for Beginners
Besides sea glass, you could try other embellishments like: You can even bead, sew or use sequins. These may be stuck onto the flower center, on the petals, or even just as small accents around the leaves. For example, small pearl like beads can make for a very graceful center, and colorful sequins can add a bit of festive vibe! Finally, be sure to think outside the box! You can add ribbons for a touch of fun, or even fabric flowers to make a mixed-media item. The list goes on and on, and the idea is to have some fun making your flower your own. Now that the final touches are added, your creation not only reflects your artistry, but becomes a treasured item, celebrating your journey as a crafter. Craft Your Own Paper Flowers: A Creative Guide for Beginners
Display Your Creation
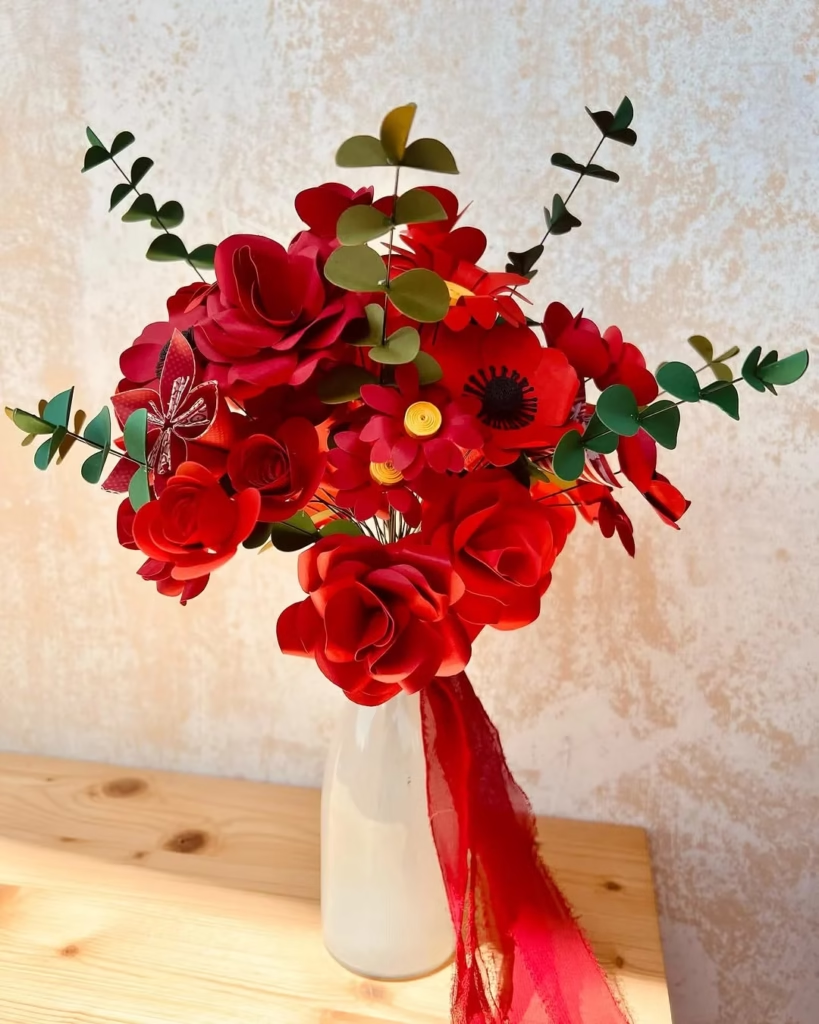
Now that you have made your beautiful paper flowers, it is time to show off your handiwork! Bringing your work to display is a beautiful way to showcase your handcrafted artistic skills and add cheer to any area. And unlike real flowers that shrivel up and die, the paper blossoms you make will last for years, a forever reminder of your hard work. Arranging in a vase: One of the most common methods of displaying your paper flowers is by continuing to give them a vase personality. Vase — select a vessel that matches your flowers in color and form. Craft Your Own Paper Flowers: A Creative Guide for Beginners
A clear glass vase can give a chic look and allow the beauty of the flowers to shine. If you want something more rustic, a mason jar or ceramic vase works well. When you start inserting the flowers, vary the height and angle to get a pleasing composition. Add personality to your home decor by mixing different types and colors of flowers for a colorful arrangement. The arrival of dried flowers has made event decoration easy too, your paper flowers can easily work for event decoration, apart from traditional arrangements. Craft Your Own Paper Flowers: A Creative Guide for Beginners
Whether it’s a birthday party, wedding, or baby shower, these flowers can even be used as table centerpieces, backdrops, or part of a floral arch. These provide a special touch and can be personalized to match any event’s theme. In addition, consider gifting your paper flowers. They are the type of thoughtful and personalized gifts that can last for years to come. These can be be offered by simply presenting them in a decorative box or wrapped creatively to give an added surprise. After all, the customization possibilities with how you choose to show design your paper flowers are endless. They can be just as versatile, beautiful, and can liven up any space or occasion, a great addition to your crafting arsenal!
